


She fell in love with the prophet Jokanaan (John the Baptist), and when she said “I want his head,” her father King Herod ordered his execution — she is the one sometimes called the original psychopath princess. Oscar Wilde wrote that story into the play Salome. In Japan, it was first staged in the Taisho era, and it is said to have shaken the people of the time. I tried painting that world — decadence and madness swirling — in my own way.
This time, together with the process, I’ll write down what I noticed while painting this picture.
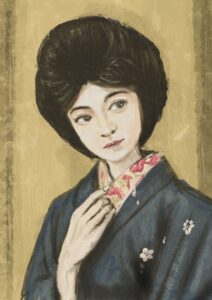
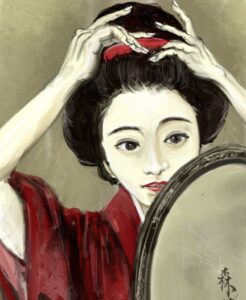
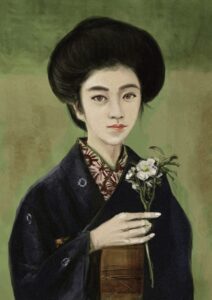
Previously: the making of the bijinga “Longing” is here


About This Work
The title is “Salome.”
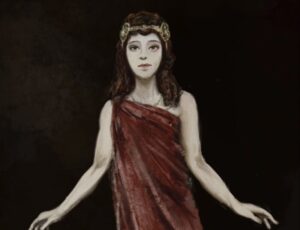
What if Oscar Wilde’s Salome had been staged in Japan in the early 1900s? The work was born from that fantasy. A crimson dress, a golden crown, bare feet. I painted the tragic Western heroine as a stage actress of the Taisho era.
Working Environment
- Tool used: Procreate (iPad)
- Canvas: A4 size, 300 dpi, sRGB
- Brush: 6B Pencil (only one)
- Layer structure: 2 layers + background color (below)
The Process
STEP 1 | Start with a “Salome” Without a Face
The first thing I painted was a silhouette without a face.
The shape of the crimson dress, the pose with both arms open, the train flowing down to the floor. Because I wanted to decide “how to paint this dress” first, the face came later. A red dress floating against a pitch-black background — at this point it already somehow had the air of “Salome,” and I got a little excited.

STEP 2 | Add the Face and Hair
Once the silhouette was set, I added the face, the hair, and the golden crown.
My reference was old photographs of a Japanese soprano singer active from the Meiji into the Taisho period. While using public-domain materials, the face itself is drawn completely originally.

STEP 3 & 4 | Breathing “Life” into the Dress
From here is the part I spent the most time on in this work.
With a single 6B Pencil, I kept painting the texture of the dress’s cloth. Where the light hits, where it falls into shadow, where the cloth twists. Not a simple red — layering the brush dozens of times toward a deep, rich crimson. It felt closer to “carving” than to “painting.”


STEP 5 | Detailing the Bare Feet and Hands
Into the details: bare feet, fingertips, the bones across the back of the hand.
Wanting to bring out the “rawness” of Salome as a person, I painted this part carefully. In contrast to the gorgeous dress, the skin is finished deliberately realistically.

STEP 6 | Gold Ornaments and the Antique “Frame”
I scattered gold medallions (round ornaments) across the dress. They are a Western decorative motif, but I chose a design that somehow also looks like a family crest.
And this work’s greatest feature is the antique-photograph-style border. A frame like the edge of an old photograph, burned. The moment I added it, the mood became not “a modern digital painting” but “a record from a hundred years ago.”

What I Tried This Time: 2 Layers
I always paint with as simple a layer structure as possible. This time, it looks like this.
- Layer 1: The body (the figure, the dress, all the painting-in)
- Layer 2: Paper texture
- Background color: Black

This “paper texture” layer is the key to this work. Even though I’m painting digitally, the finished picture has the feel of being “painted on paper.” I was surprised myself that layering a single texture changes it this much.
When I started using Procreate, I thought, “Digital is too clean; it feels cold.” But layering just one texture almost completely solved that problem.
The full reveal of my 3-layer painting process is here
Completion
It finished like “a stage photograph from a hundred years ago.” The contrast of crimson and black, the gold ornaments, the bare feet — I believe all of it expresses the beauty and the danger that the person “Salome” carries.
This work is now on sale at the following shops.
Summary
| Work title | Salome |
|---|---|
| Production time | 2 days / 4 hours |
| Layers | 2 + background color |
| Brush used | 6B Pencil only |
| Highlights | Antique border, paper texture |
Painting digitally yet with the sensation of “paper” — that’s what I like about Procreate, I felt anew.
Continued: the making of the Taisho Roman soccer girl is here (in Japanese)


Comments