

What you’ll learn in this article
I explain, step by step with screenshots, the actual procedure for listing products on Zazzle.
Even starting from zero English in your 50s, you can follow along with the same screens without getting lost.
Last time, after four months, I opened my Zazzle store “RanMoriArt.”
This time is the continuation.
I’ll look back, with screenshots, at actually uploading works and publishing them as a poster and a T-shirt.
Before, I also struggled with the peculiar (?) quirks unique to overseas platforms on Displate.
“Will Zazzle have something too?”
A slightly nervous start.
① First, Tidy Up the Profile
First, the profile — the face of the store.
Since it’s aimed overseas, I’ll enter it in English, not Japanese.
Recently, more and more overseas platforms — not just Zazzle — support Japanese.
More overseas platforms display their screens in Japanese. Thanks to that, I rarely struggle with the operation itself.
But! If the content you write there stays in Japanese, it won’t reach the overseas buyers who matter.
Content in English is easier for people overseas to understand, after all.
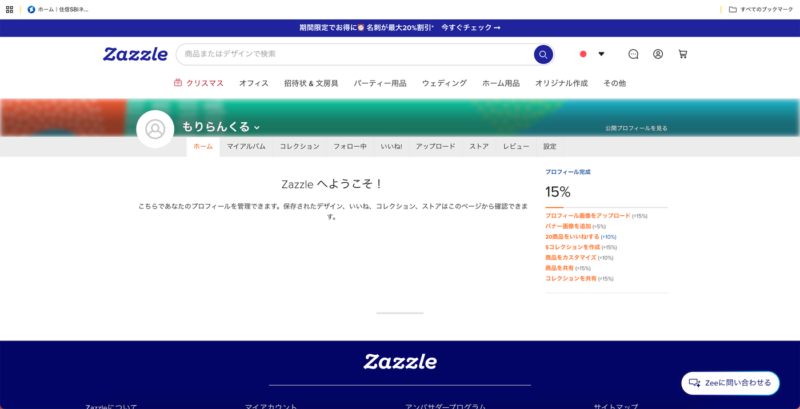
At this stage, my profile completeness was still 15%.
There’s a long way to go (lol).
In order, I entered my name, tagline (the short catchphrase that appears under your profile name and describes you in one line),
my self-introduction, and so on.
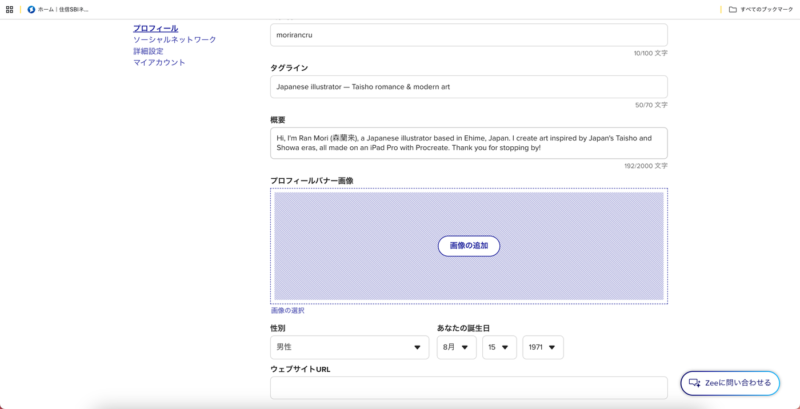
Tagline and About (the slightly longer self-introduction shown on your profile) — entered in English.
For my name, instead of “morirancru,” I changed it to “Ran Mori,” the same as on other platforms.
I entered the tagline and About, too.
The tagline was:
“Japanese illustrator — Taisho romance & modern art”
That was my choice.
※Sections where English you don’t normally use appears, like the tagline and About, are the pitfalls of overseas sites.
For my location, just “Japan” would have been fine, but to be distinguished from people who only “seem Japanese” (lol), I entered
Matsuyama / Ehime / Japan
properly.
I also added my website URL.
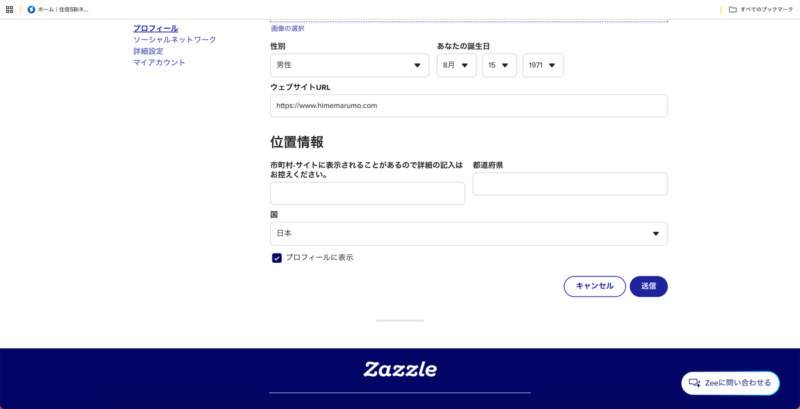
Entering location and website URL, then submitting
Finally, I uploaded an icon image too.
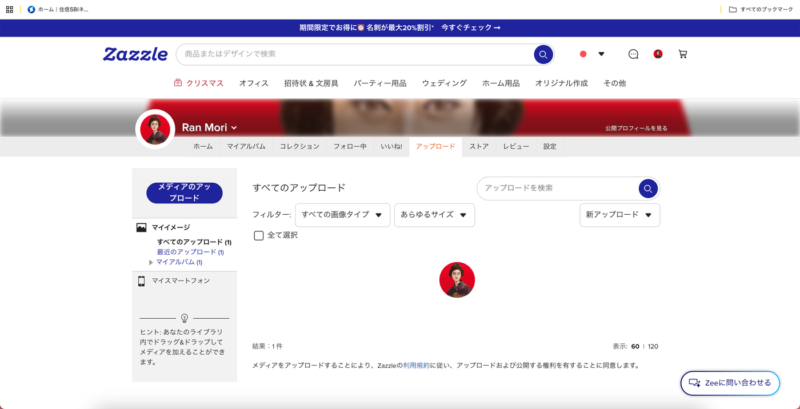
The profile icon reflected
It finally started to look like “my store.”
② Now, Uploading Works
Next, I registered works from “Upload.”
This time, I uploaded two works whose “Japan 🇯🇵” theme is easy to grasp:
“Shizuka Gozen” and “Amaterasu Omikami”
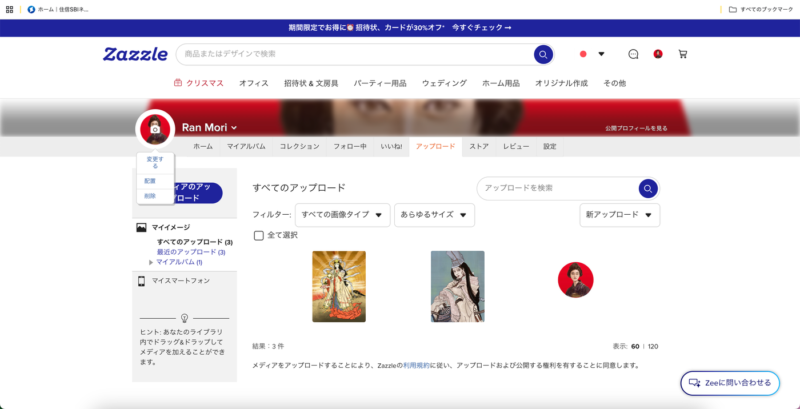
Upload complete: two works
The upload itself was easy, by drag & drop.
But here came the first stumble.
I had uploaded the images, but all that was displayed was things like “Delete” and “Add to album.”
“Where’s the button to make it a product?”
I searched for a while (lol).
At times like that, I immediately check with AI as well.
It turned out Zazzle’s flow isn’t “upload an image → make it a product,” but
“choose a product → insert the image into it.”
→
Make it a product
→
Insert the image into it
I see — so that was the mechanism.
With zero English, if I had done this on my own without relying on AI, I might have given up right here (lol).
③ Choose a Product and Insert the Image
From “Create your own,” I looked for a product category.
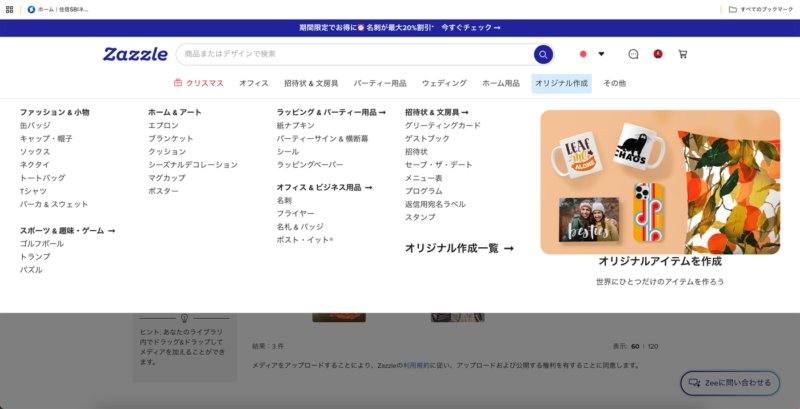
The “create your own” category list
……There’s a huge number of products!
There was a dizzying, enormous range of products (lol).
From among them, for now I chose the standard “Poster.”
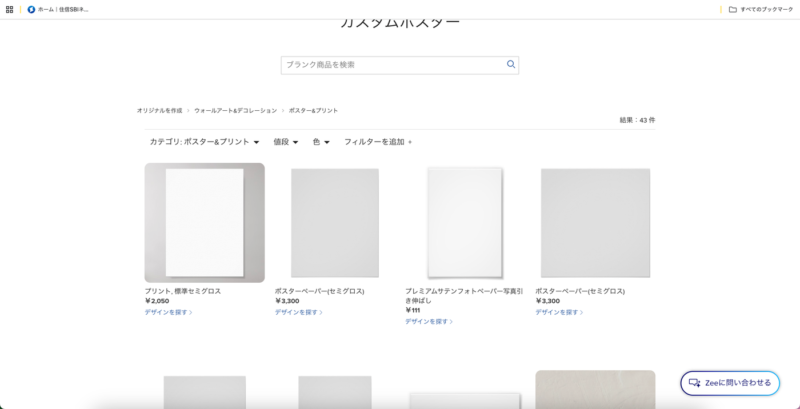
The list of poster products
This time I chose “Print, Standard Semi-Gloss” (¥2,050).
Then a completely blank poster editing screen appeared.
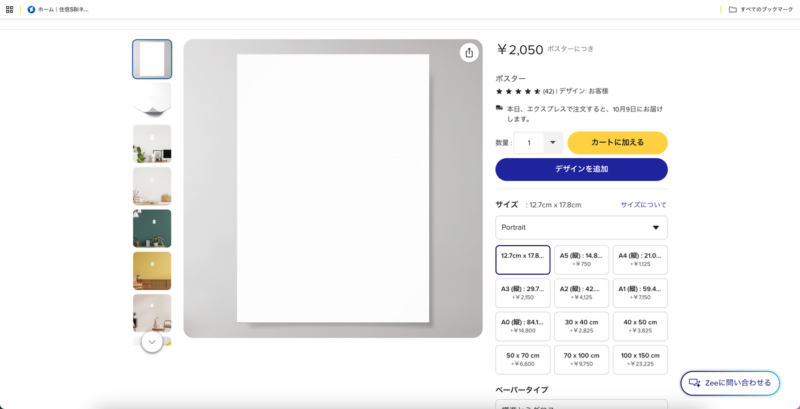
The blank poster preview screen
Here, from “Add design,” I selected the image I had uploaded earlier.
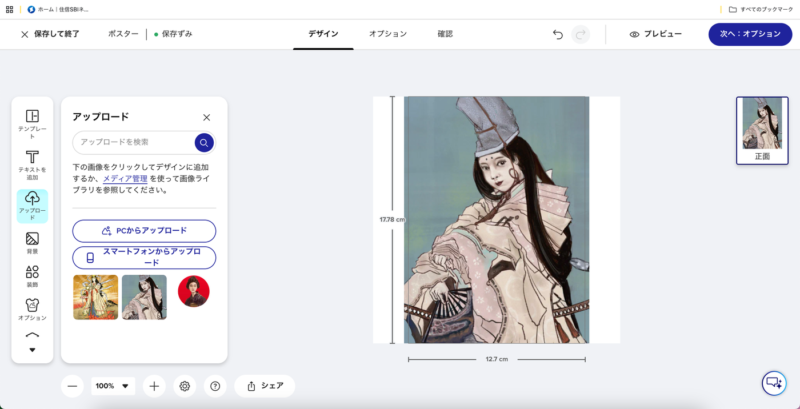
The image automatically reflected on the poster
And then —
Ohh!!! It was reflected on the poster in an instant.
The image was also automatically adjusted nicely to the size — much easier than I had expected.
“Oh, so that’s how it works (lol)”
was how it felt.
④ Checking the Size and Other Options
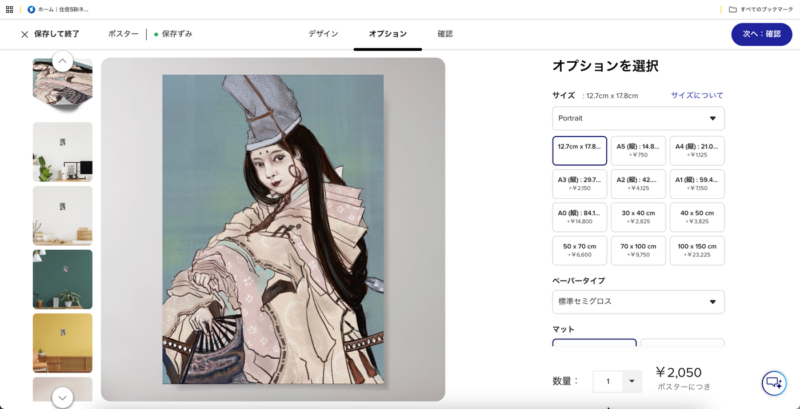
The size and paper type selection screen
I checked the size and paper type.
This time, I proceeded with the basic settings.
Different sizes and the like can be selected by the buyer.
⑤ The “Buy” Tab Trap
Here came the second stumble.
Looking at the confirmation screen, there were two tabs at the top right: “Sell” and “Buy.”
Without thinking, I had been looking at the “Buy” side (lol).
It goes without saying, but when selling your own works, it’s the “Sell” side.
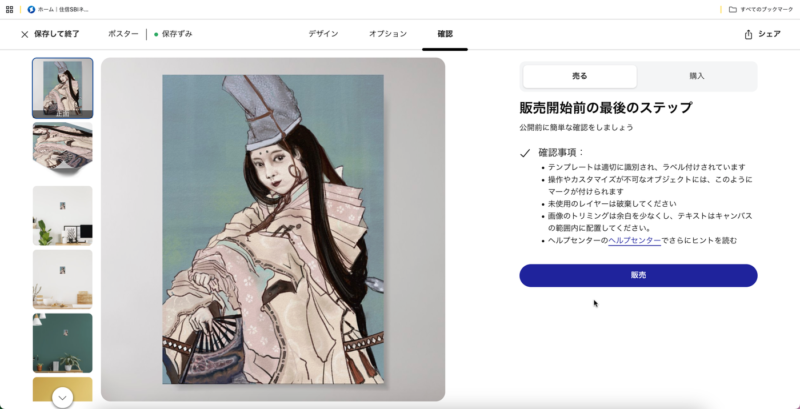
The confirmation screen after switching to the “Sell” tab
When I switched to “Sell,” the final confirmation screen before starting sales appeared.
This sort of thing is a little hard to grasp the first time, isn’t it.
⑥ Stumbling Again at Tag Entry
Next, I entered the title, category, description, and so on.
And finally, the tags.
Here came the third stumble.
“shizuka gozen”
“japanese history”
When I entered multi-word tags like these just as they were…
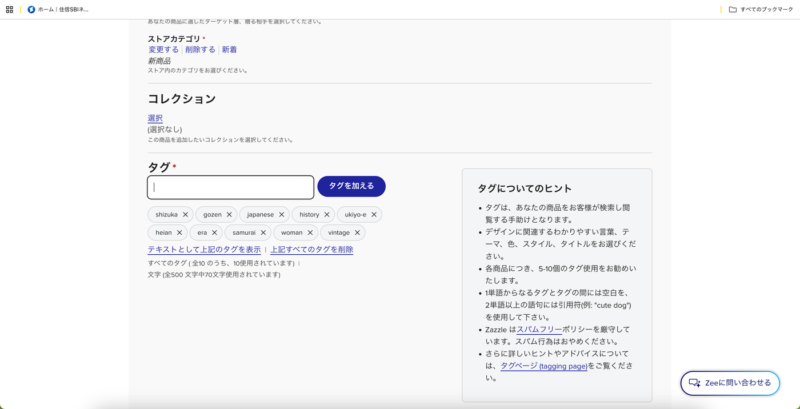
Multi-word tags split into single words
“shizuka gozen” had been split into “shizuka” and “gozen”
Looking closely, the hint field properly said, “Use quotation marks for phrases of two or more words”
That was written there.
…I hadn’t read it (lol).
So I deleted them once, and
“shizuka gozen”
re-entered them enclosed in quotation marks — and it was safely solved.
AI helps me with these small things too (lol). *Though this one would have been fine if I’d just read properly…
I’m truly grateful for AI.
⑦ Final Check, and Publication
I checked the rating (a guide to the product’s target age; if there’s no exposure or extreme content, “G (all ages)” is fine),
the display settings, and the royalty rate (the share of sales that becomes your earnings; the higher the number, the more the reward).
Here too, while checking with AI, I decided to proceed with the basic settings this time.
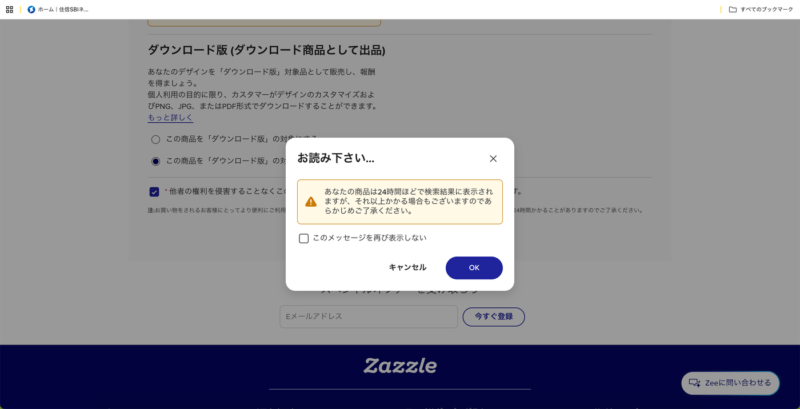
The final confirmation dialog before publication
A notice was also displayed: “It may take up to 24 hours to appear in search results.”
And finally, publication.
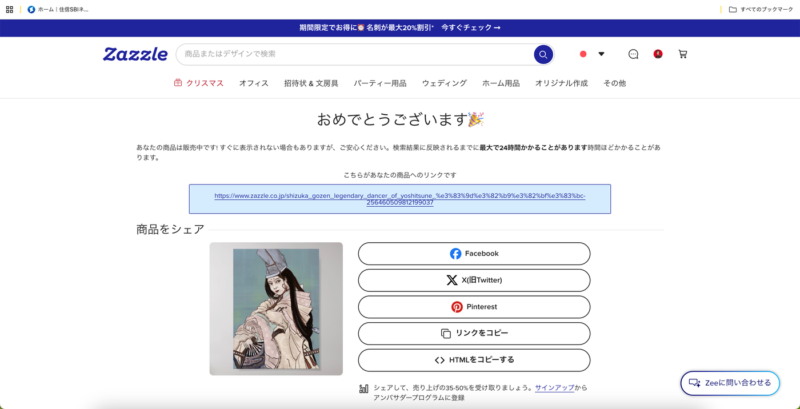
The celebration screen for the completed poster listing
“Congratulations 🎉”
At last, my first product on Zazzle was published.
⑧ While I Was at It, a T-Shirt Too
Once you understand the flow, the second one is fast.
Using the same image, this time I listed a T-shirt too.
The procedure is the same as before!
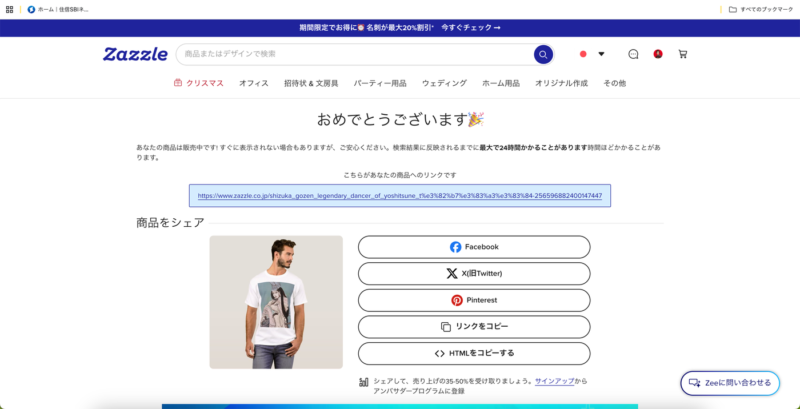
The celebration screen for the completed T-shirt listing
Seen as a mockup, it gives a different impression from the poster.
This one was also published safely.
What I Learned by Trying Zazzle This Time
This time, actually listing products taught me three things.
First. Zazzle wasn’t “upload an image and make it a product,” but “choose a product and insert the image.”
This is quite different from Redbubble and Fine Art America.
Because the flow was the reverse of the POD sites I’d used so far, I was confused at first.
And second. The “Buy” and “Sell” tabs. The first time, you tend to look at the Buy side (lol).
And third. The tag entry rules.
Multi-word tags needed quotation marks.
These small things, you really can’t know until you actually touch them.
And one more thing I noticed: you have to register products one by one. When expanding the same design to posters, T-shirts, mugs, phone cases… each product needs its own settings.
As I increase the number of works, this part may take some effort.
That said, once I learned the flow like this time, from the second work on it went quite smoothly.
With this, Zazzle now has
a total of two products: one poster + one T-shirt.
Will overseas buyers find them from here?
And will they sell (lol).
Zazzle, which took four months just to reach product listing.
From here is the real start.
My overseas side business is still very much an experiment in progress.
The five overseas platform comparison roundup is here
Continued: Reviewing my tags after the Redbubble Premium certification, is here

Comments